Now that you’re ready to embark on this new mode of transportation, it’s time to learn some tips! These tips are born out of my own experience learning to navigate the streets of Metro Manila for commuting needs.
I learned to cycle only late last year and I still consider myself a newbie. I have learned to get to places I need to go little by little and still with guidance from my loving partner who is patient enough to ride with me.
If you don't know where to start your city cycling journey, read this part first: City Cycling: Beginning
No nonsense tidbits
Have a ride buddy. First off, if you are completely new to this concept of cycling to your destination, consider asking for help from a friend to be your riding buddy or a guide to get to your destination—preferably someone who has been doing bike commute for quite sometime now and knows the road to get you where you need to go.
Map out your ride. Some of Metro Manila’s roads are still difficult to navigate on a bike and some may be dangerous for newbie cyclist; it is best to identify the roads that are less hazardous for your commute. For example, while EDSA may be the shortest straight route you can take to get to your destination, until we have bike lines, consider taking inner roads for a safer experience.
Pre-ride checks. Don’t skip this, even if you rode your bike yesterday. There are extensive checks you can do, but the really basic ones to remember is: ABCD.
A - Air Pressure. Check that your tires are well inflated with the right pressue. Get a floor pump with gauge for this.
B - Brakes. Check both the front and rear brakes. Move the bike forward and press the brakes one at a time. If the tires don’t stop at once with a full squeeze, you’ll need some adjustments.
C - Chain. Spin the wheel and see that the chain doesn’t make weird noises other than turning. If they wiggle or seem to pop out of the crank, you will need to fix this.
D - Drop test. Lift your bike, and from about 6 inches off the floor, drop the bike while holding the frame to ensure that nothing falls off or that everything is sound and intact. This ensures you don’t get anything loose while riding off of bumpy roads. Tighten bolts that would make a sound in this test.
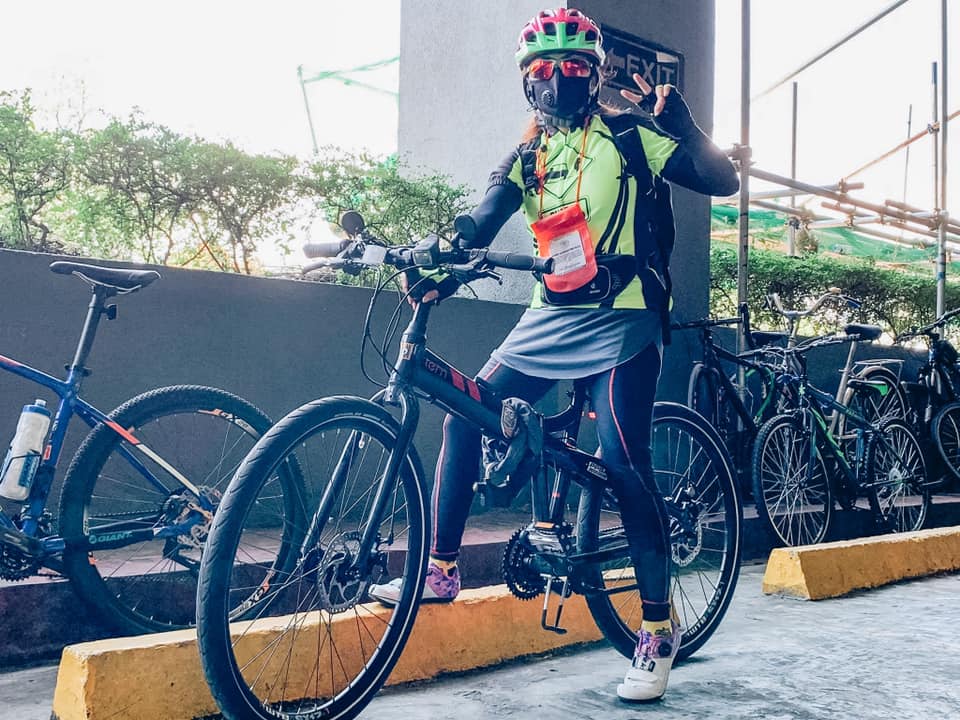
Turn on your lights and test your horn. Before making your first pedal off to your destination, make sure you’re lit and visible on the road. Your lights and horn should be working before you actually need them.
On the road
Keep ears unobstructed. Never ever wear any headset, earphones, or anything that blocks your hearing. You need to be able to hear everything around you in case there are vehicles approaching you from either side or when a vehicle wants to overtake you or need to warn you for something else. While listening to music might sound appealing, remember, this is a guide for bike commuting. You can do that on a leisure bike ride around your subdivision or at parks. Bike commuting needs full focus!
Eyes on the road. Your point of view must be about a foot and a half in front of you. You need to be able to spot dangerous holes or uneven road structures. Road bikes, most especially, needs a good flat surface to run on because they have really thin tires. Biking too fast on potholes might send you flying off. Avoid big potholes when you can, and when you don’t have enough time (or road) to swerve away, then reduce speed as much as you can. Below are common road states you need to look out for and avoid:
- Deep potholes
- Deep manholes
- Drainage steels with holes parallel to your tires
- Steel road connectors that are protruding
- Deep side road drainages
- Big stones lying around
- Broken pieces of glass
- Nails, thumb tacks, etc
Hand signals. As a newbie (riding a folding bike), hand signals are still quite difficult for me. Some days, I can do it, and on others, doing so would pose more danger for me. My advice, practice, but don’t push it. In my opinion, the two most important hand signals are: 1) to turn left (as we always ride on the right side), and 2) to make a stop. I worry that the ones behind me might not be able to see me slowing down right away so, I usually bike slower until I make a full stop. If you can, learn hand signals.
Learn your gears. The roads would feel different when riding a bicycle. This was the first thing I realised, on a bike. Some roads would have a steeper inclination than others. Shift your gear before you actually need it. Once you feel that change in the effort you need to pedal your bike, make a shift at once. Keep shifting until it feels close to normal.
Stop as needed to replenish. This doesn’t mean just to hydrate. You could also feel dizzy because of higher heart rate, especially since it can get too hot in Manila. Remember, this is not a race. Safety is more important here. Find a safe place to stop for a while. Catch your breath, lower your heart rate. Drink water and/or eat something so you have energy to continue your ride.
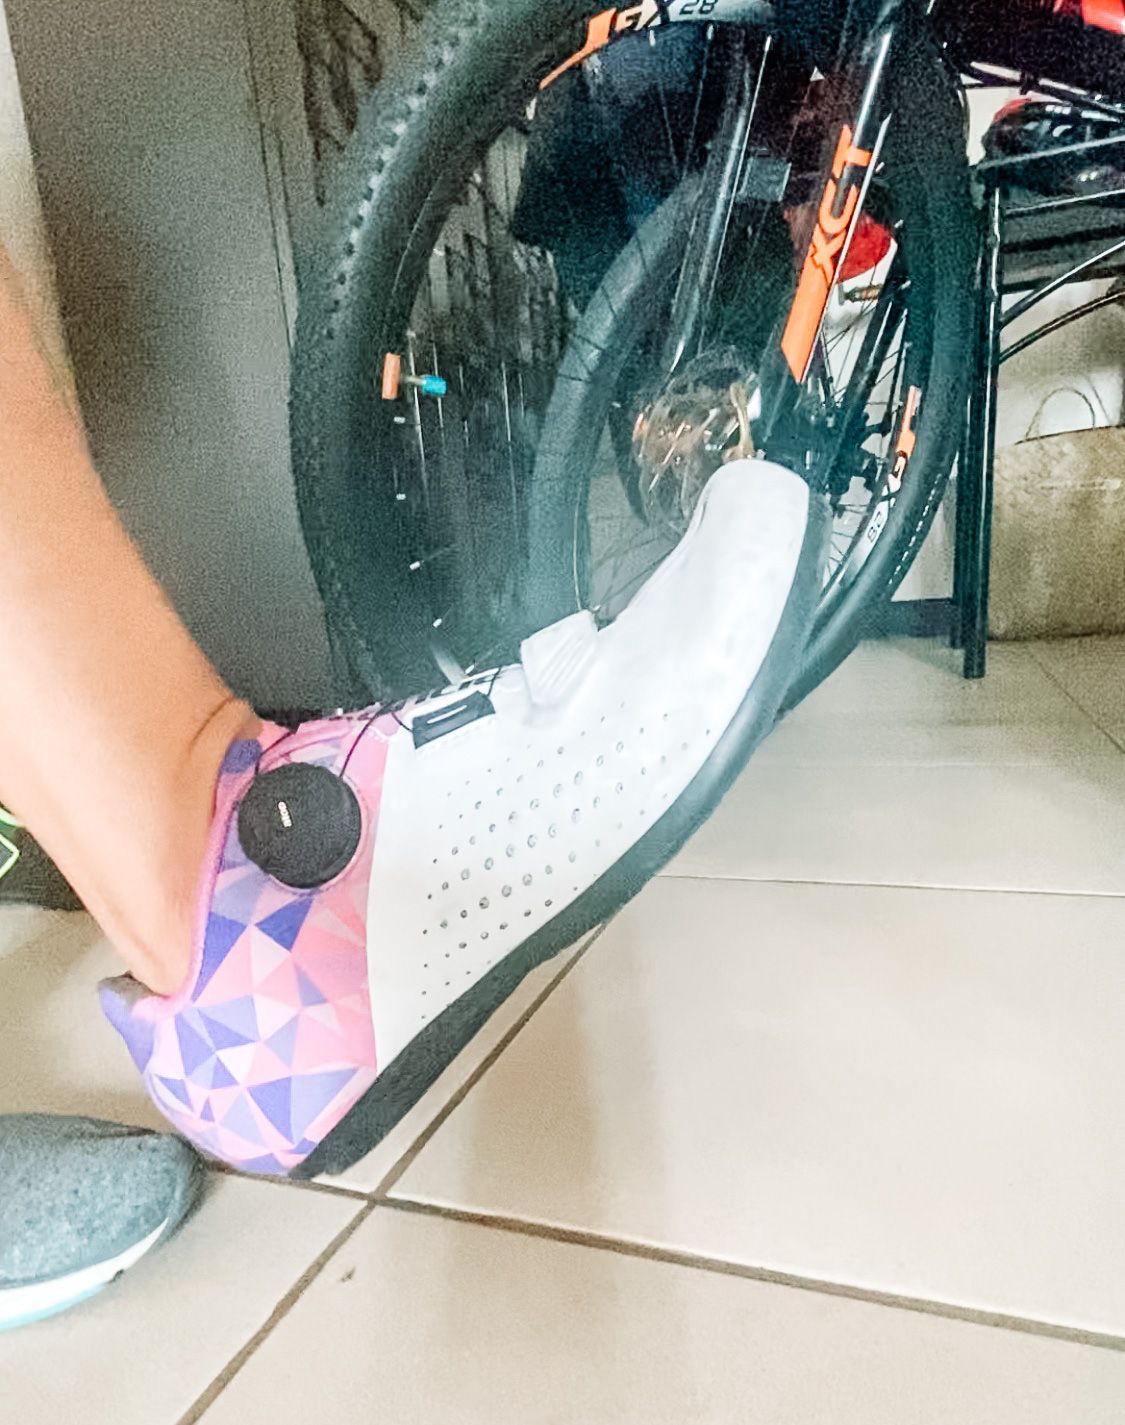
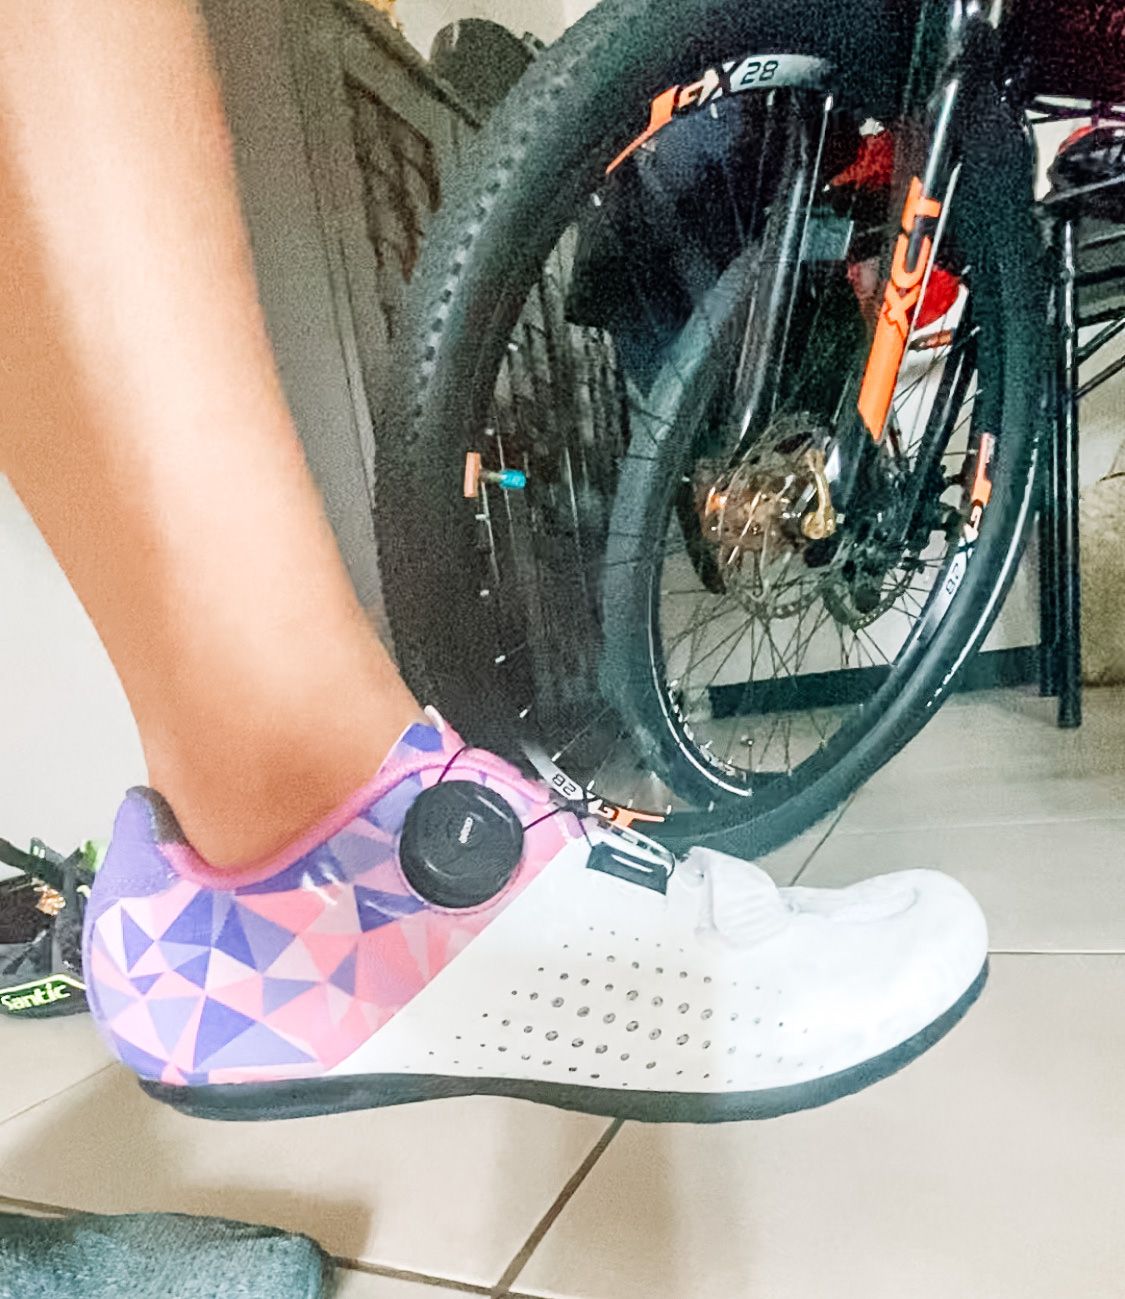
Push the pedal at an angle, not directly down. Nobody told me this, but I felt this immensely changed the effort in pedaling the bike. Instead of the soles of the feet parallel to the floor, angle the soles about 30 degrees down when you push the pedal away. This ensures that your pressure comes from the flat part of your foot and therefore has more force than coming from the center line of your foot.
Folding bikers’ tips
Now, here are some of my tips exclusive to folding bike users. Most folding bikes (if unmodified), would not have shock absorbers. Our forks don’t move up and down like mountain bikes’ do. This means more tension travels to our arms (from the wrists going to the shoulders).
Here’s what I do:
1) When anticipating a bump on the road, I bend my elbows slightly and lift my wrists off the handle bars. This way, the tension dissipates around my elbows and my wrists don’t absorb it too much.
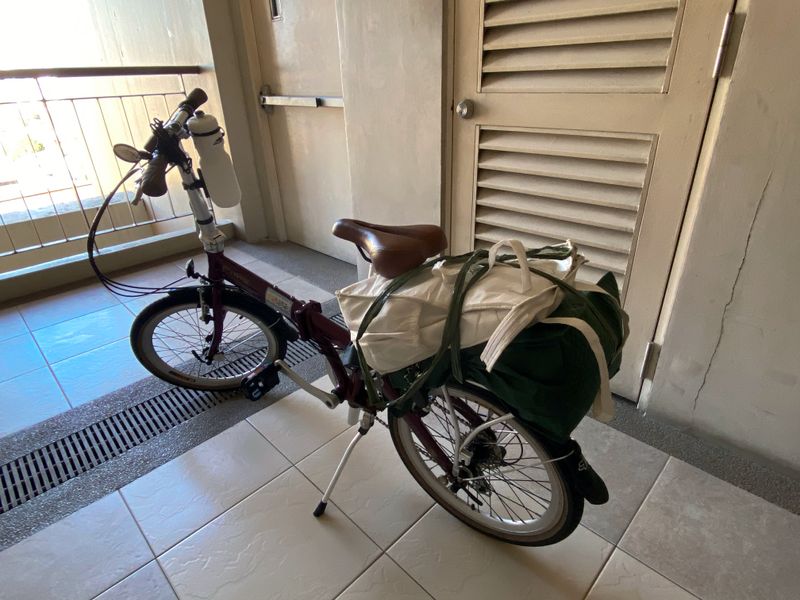
2) Don’t hang items on your handle bars. The way folding bikes are designed, there’s more movement in the fulcrum of the headset on the handlebars. Any uneven weight on either side will tip you off. Some can handle this, but I strongly advise against it, especially for newbies like myself.
3) Wear padded trousers. Again, no shock absorbers. Your groins will take a hit especially if you don’t know yet how to lift off your seat during bumps.
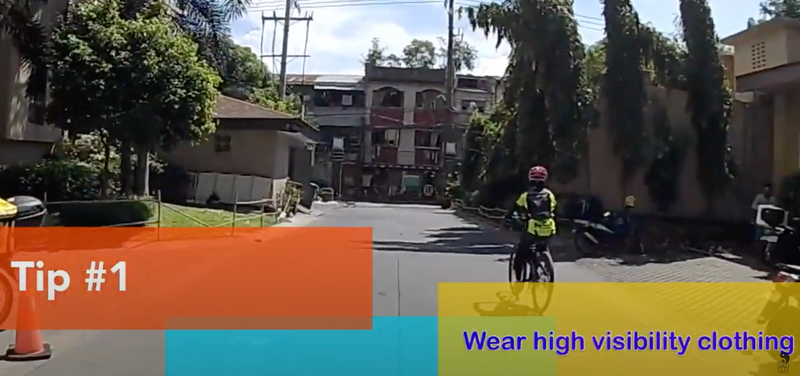
For other useful on the road bike commuting tips, watch my recent ride to Ortigas:
If you have any questions, please let me know in the comments so I can reply. I’m quite positive and excited that there are more bicycle friendly infrastructure and laws that are coming. 😊 I believe this is a big step towards the right direction for our economy, for our health and safety.
Please support the government in their efforts to provide safety and visibility for our cyclists. Motorized vehicle riders, please also provide safety for our cyclists on the road. They could be a friend of a friend or someone you know. Please share the road. 🙏
PS: There will come a time when the Dutch won't compare Metro Manila city cycling to theirs anymore and cycling here won't be coined as a "dangerous activity" anymore.