It’s day 78 of Metro Manila in Community Quarantine. We’ve gone through the harshest conditions and the most restricted setup ever. Now, we are slowly coming out of it. Throughout the different quarantine measures we’ve put up with, transport was one of the most difficult ones especially in the beginning.
At the start of the quarantine restrictions, not a lot of grocery stores were accessible online. I myself had to run a few times of bike ride to buy food, and it wasn’t easy especially because I had to carry a load over a bridge that had quite an inclination (not an easy uphill ride for newbies like myself) 😩
Since April, the stores that I had frequented opened up their online shops (although the loyalty cards don’t work til now), and my bike runs was cut to virtually none. Sometimes, I had to bike to get some medicines and personal care items from a 1km-away Mercury Drug, but that’s about it. No more biking uphill the bridge near me to buy groceries!
End of May though, is a different story. Biking is now declared by Secretary Año as a major transportation means. The LGUs and the DOTR are now working on a design plan to support city cycling. Why? Even though public transports are slowly easing up on mass use, cycling is still the most efficient way of moving people. It directly enforces social distancing since only one person should be on the bike. It’s more environment friendly and is definitely more encouraged along the lines of having an implicit exercise.
So, are you adapting to this? Is city cycling now in your goals? Are you going to work on June 1st when Metro Manila switches to General Community Quarantine? Don’t know where to start?
When you plan to adapt
First of all, congratulate yourself on the multitude of savings you’ll gather up by the end of the year, now that you consider switching your mode of transport to city cycling. Have you ever noticed (if you ever do your budgeting), that during quarantine, you spent more money on (good) food and those hobbies that made you more relaxed?
I had to repurpose my budget pouches (budget envelopes) because most of the money just went to food anyway! 😅 I didn’t spend for transportation at all, even though on some accounts, I had gone to Ortigas and to Makati a couple of times for essential runs, I just rode my bike. I used to allot at least around Php 3000 just for transportation (Disclaimer: I already work at home before all this, so this amount may seem small for others. I just go out once in awhile and when doing groceries).
Step #1:
But let’s get back to your wallet today. You need a bike! 💵
The first thing you need to ask yourself, is what do you need the bike for, mostly? Bike to work? Errands bike? Exercise? Most likely, you’re in need of a bike for commuting.
Here’s what to ask yourself next: Where do you live and where do you go to work?
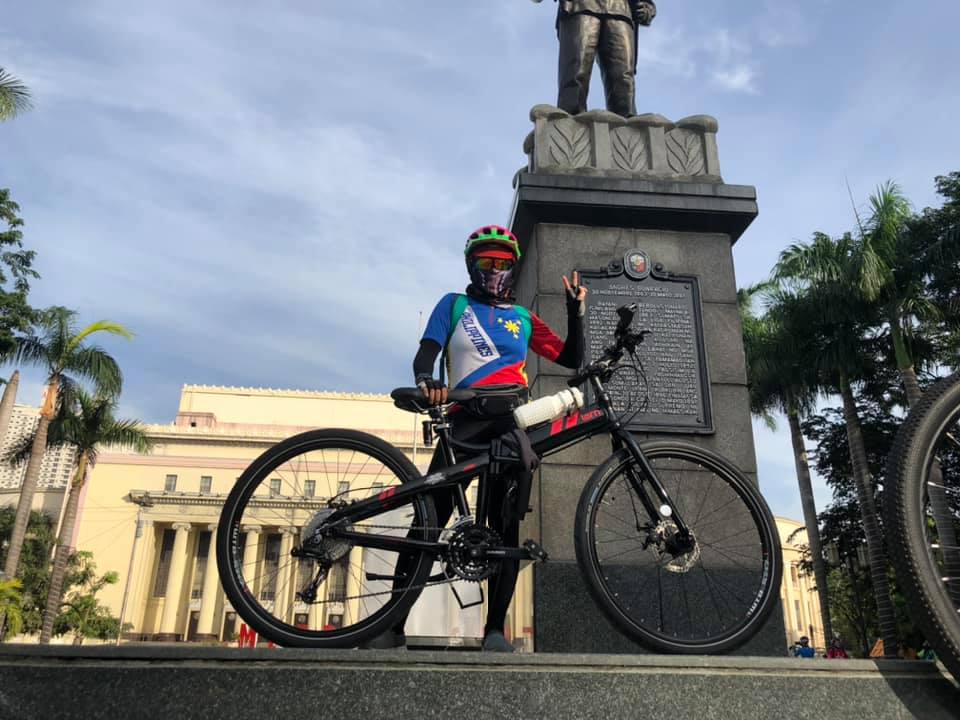
If your place of residence and work place is more than 5 kilometers apart, you’ll probably want to get a mountain bike or a road bike. In a gist, a road bike has thinner tires, therefore it spins faster than the rugged, all-terrain bike—the mountain bike. Assuming you’re a beginner, choose the mountain bike. The reason is that, the mountain bike provides more stability in terms of the width of the tires. It also has shock absorbing forks compared to the road bike. Read: you won’t suffer numb groins! 😅
Another benefit of the mountain bike to the road bike is that you can choose to have your brakes to be a range of choices from: V brake, disc brake, or hydraulics brake (can also be disc brake).
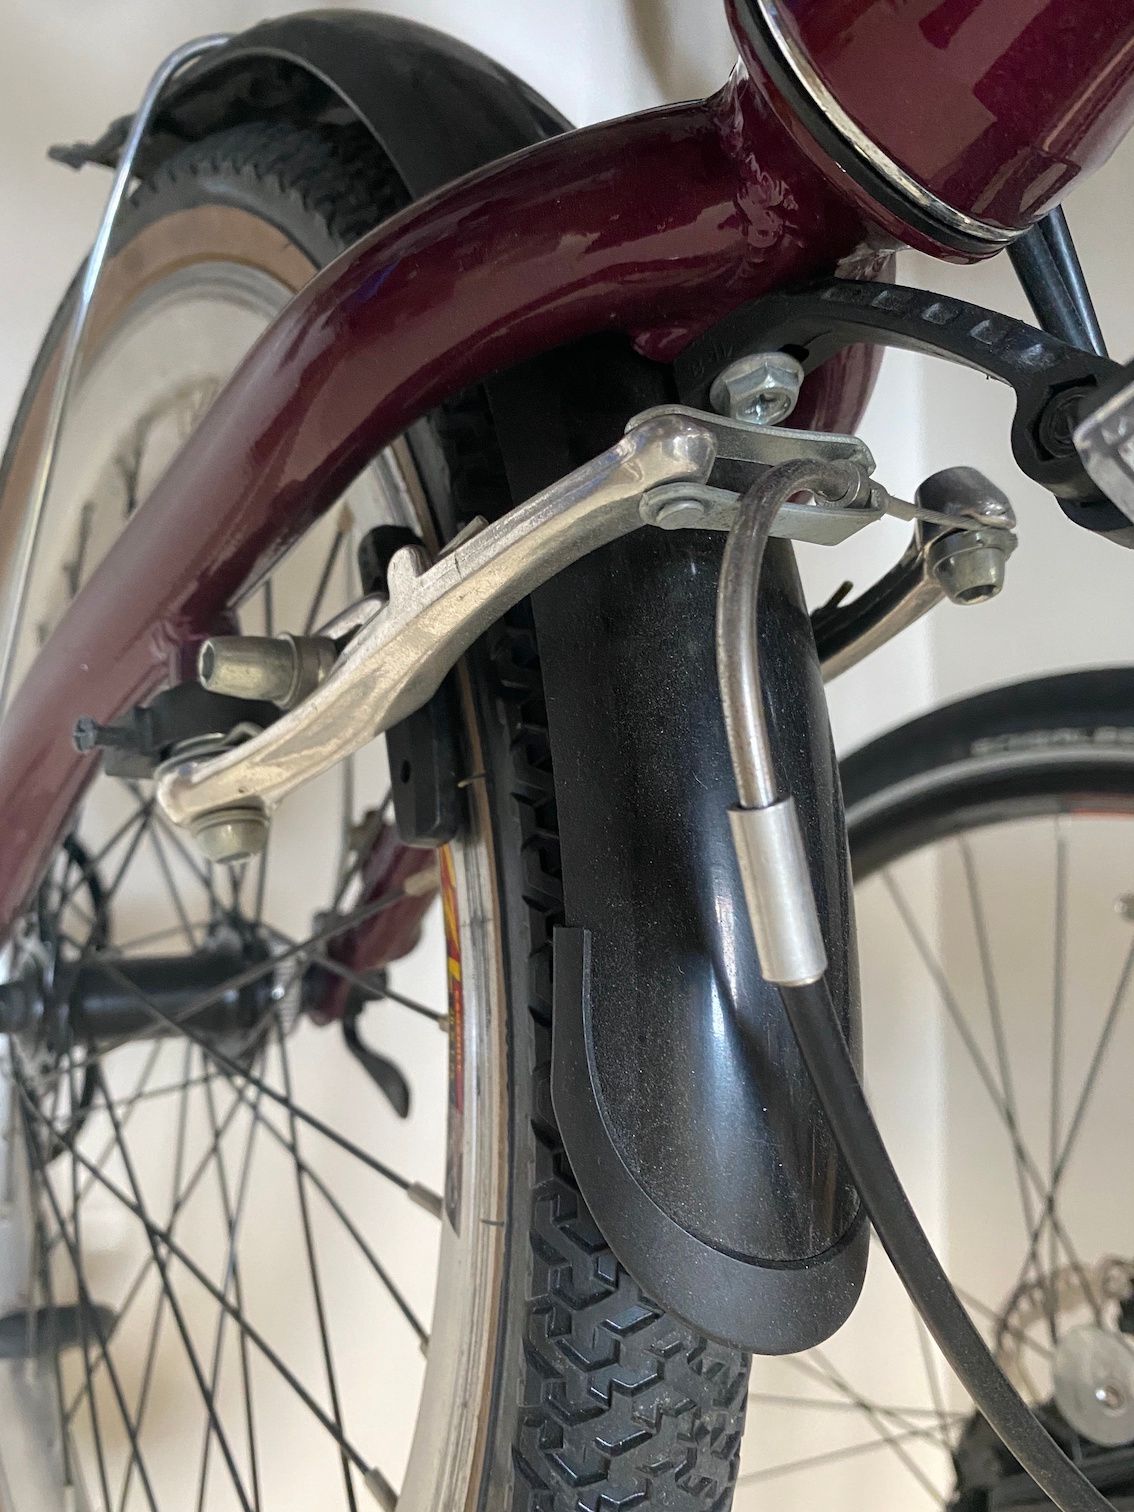
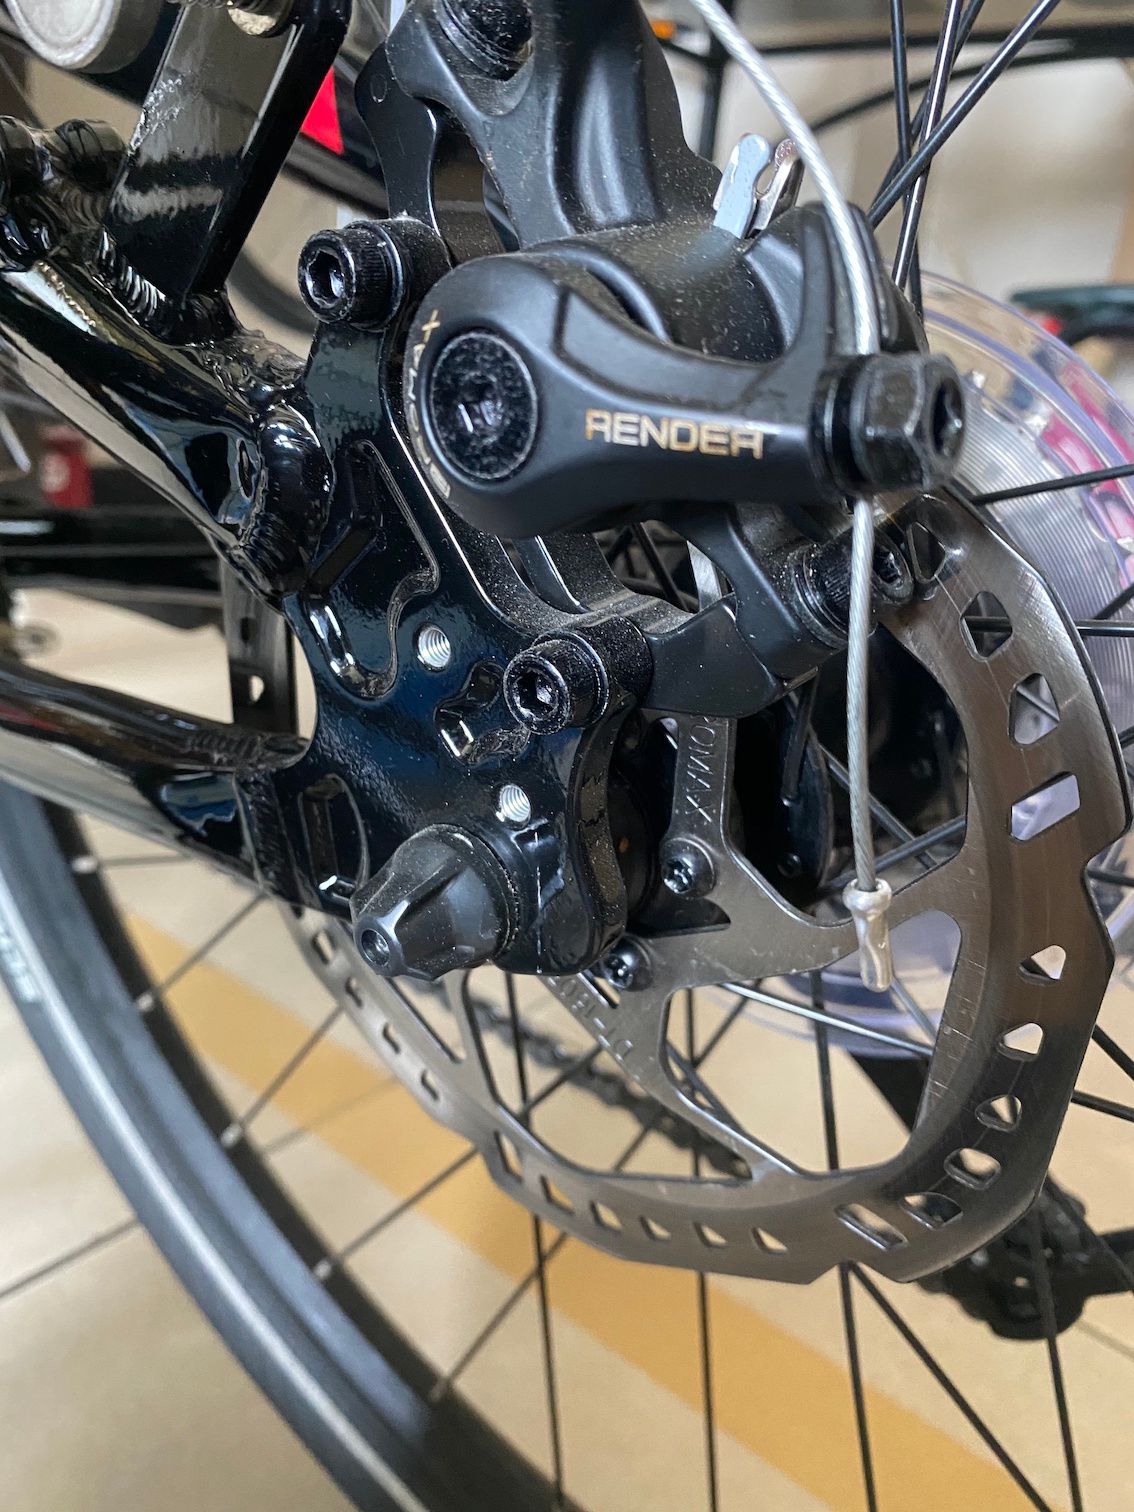
V brakes are like the most basic. Imagine two pads squeezing together (on the actual reams of the tires) to halt the turn of the wheels. Disc brake is more advanced form of a V brake system. Instead of the pads squeezing the tire reams, it squeezes on the discs that are attached to the center of the wheel. And finally, the more high tech brake solution is the hydraulics which uses combination of the disc and some liquid to make a full quicker brake. The hydraulic one makes it easy for an on the spot braking. V brakes and Disc brakes alone will take some time to get to a full stop. However, hydraulics require more maintenance than the other two.
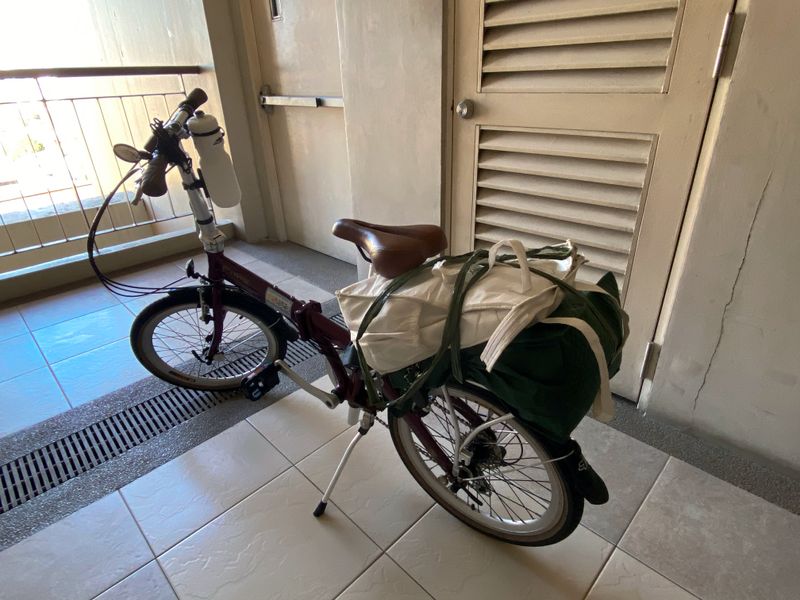
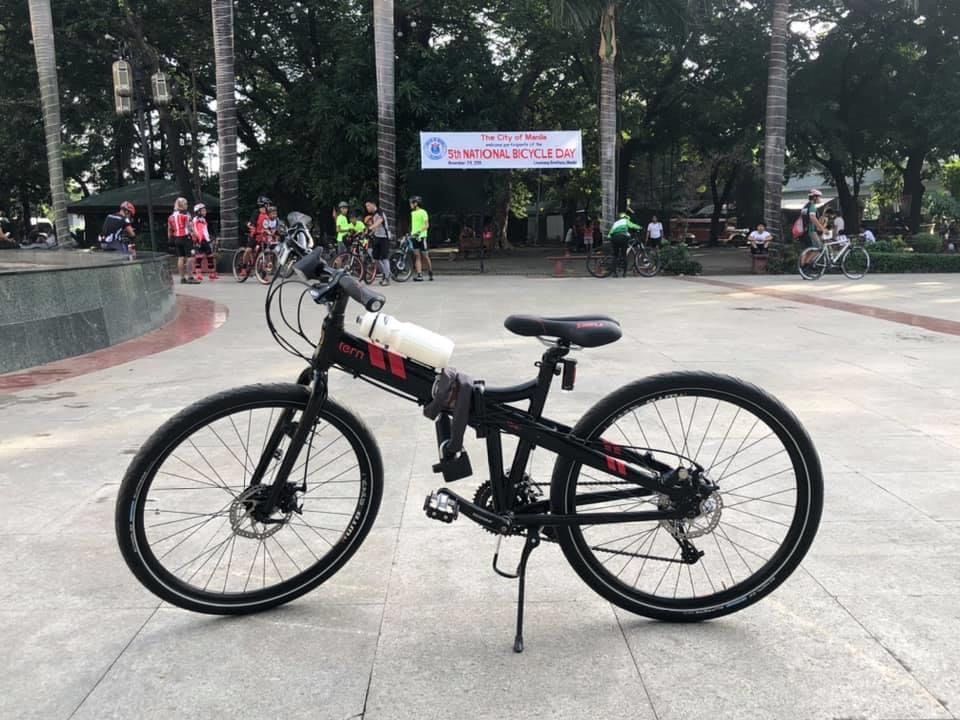
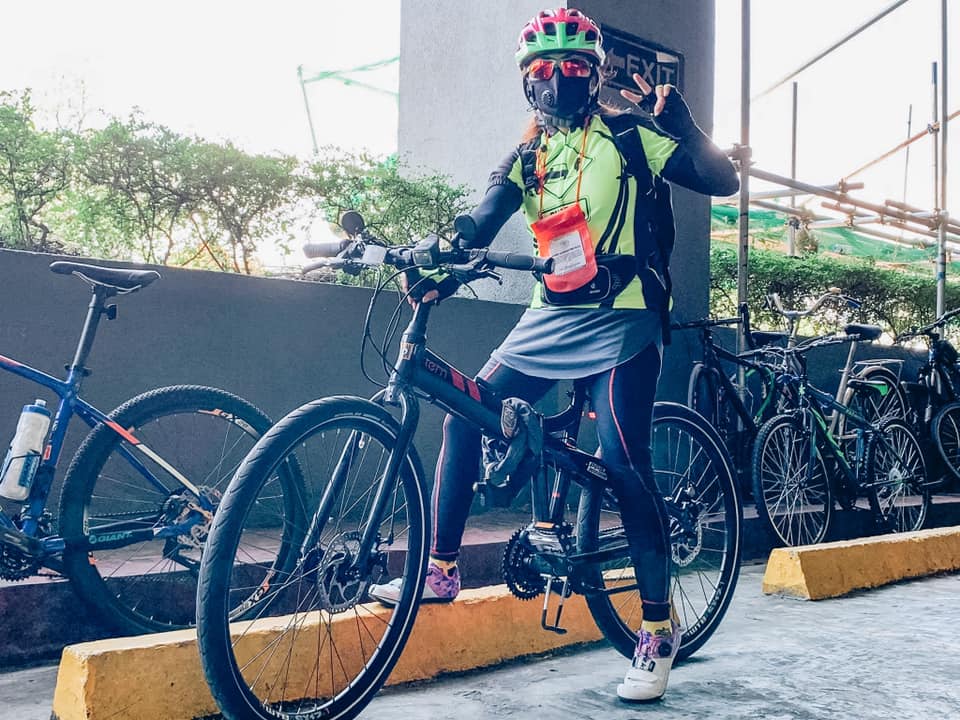
Now, let’s get the the popular folding bikes! They’re always the prettiest, aren’t they? Just check my cute folding bike here!

Now, no one will tell you this.. But I will! 🙌
Folding bikes are more wiggly on the road. Read that again. It’s not you. It’s them 😅. It’s actually science if you think of it. The designs of every folding bike is that the stem (the one that connects the handle bars to the wheel) is longer than a mountain bike and a road bike; therefore, it creates more sensitivity to movement. I’m not saying it’s a bad bike, but it will take some getting used to.
I actually learned how to ride a bike using my folding bike (Brixie, my Bickerton bike) before I bought my second bike, also a foldie! (Joey, the JoeP24 Tern). Hence, I’ve been used to riding a little bit wobbly. However, that’s not the end to it. The more you ride this bike, you’ll get to adjust to how sensitive it can be, so you will eventually learn how to handle it.
Another super secret to know is that.. a foldie also don’t have shock absorbers! So yes, my groins do get numb from time to time, especially if it’s a long bumpy ride 🙈 But, I always love my foldies. I don’t see myself getting a mountain bike anytime soon. (PS: I’ll share some riding tips for a foldie, watch out for my next post!)
Step #2
Assuming that you don’t know how to ride your bike yet— I actually bought Brixie before I learned how to ride a bike!— don’t fret. Here are my tips for you. While I learned in the presence of some gurus, I’m sharing here what you can do on your own to learn.
I learned through NBO Bike Lessons last year, but just because there's COVID19, doesn't mean you can't learn on your own.
1. Find a street that looks a little hilly. A small inclination would do. Think about rolling a ball down your street. If it doesn’t get momentum on its own, that’s not the right street. If you live in a subdivision, this is even better. Most subdivisions have some inclination that would be helpful for you in learning.
2. Remove your pedals. The pedals would be needed once you get the balance on.
3. Adjust your seat post so that when you’re on it, both feet are flat on the ground with the knees not bent. This will be your starting point. If your knees are bent, you will damage your knees in the long run. Again, feet flat, knees straight.
4. Ride your bike and stride. Pushing off the ground with the left foot, followed by another stride with the right foot. Do this alternately. The goal is to be able to center your body during strides.
5. Now go to the top of the slope/inclination. Stride until you can slowly lift feet off the floor just an inch or two. This is how you learn how to balance. Progress to the next step only when you can completely fold your knees and lift the feet off.
6. Last step is putting back your pedal. Always start with the pedals in 3 o’clock position. If you’re right handed, right foot on the pedal, stride off by pushing the left foot and start to press with the right foot. Keep doing this until your left foot and find the pedal and you can start to cycle them to move.
7. That’s it! Keep practising! After this, learn to turn, and then learn hand signals. It takes time, but be patient.
Step #3
Getting the right gears and clothing is a game changer. Now, I understand, not everyone has the capacity to put this in their budget, so I will list down the bare essentials and the optionals.
Essentials:
1. Helmet. There’s a variety of helmets out there, but do start with what’s in your budget. There are some that start at price of Php 350 and can go up to around Php 6000. Pick wisely. Although it seems unlikely that you’re getting into an accident, it is better that you are prepared. A broken bone will heal, just like a scar, but a broken head means death. Think about it.
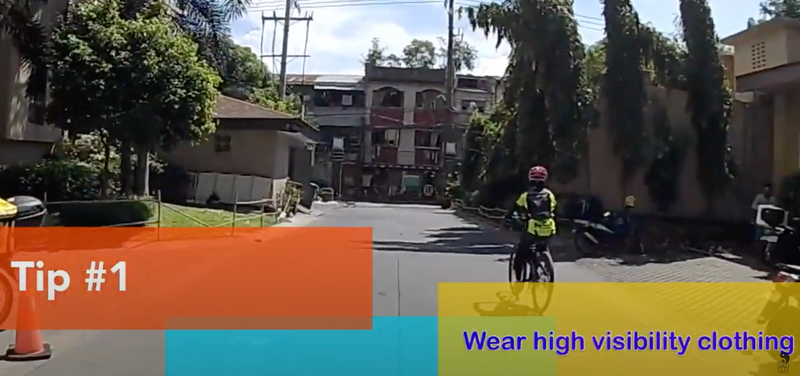
2. Lights. There are at least 2 lights that you need. One infront and one at the back. Just like any vehicle, we also need to be seen on the road. The front line is white light that is ideally blinking. The one at the back is a red tail light, also ideally blinking. The blinking lights is not for you, but for those on the road as you are and should see that you’re moving. If the light is not blinking, it will give a false sense of your accurate location and you might get hit.
3. Bell or horn. Now this boils down to preference. My bike came with a bell, but I think the bell is too inaudible, so I bought a horn instead. I want to make sure that when I want to be heard, I will be heard—loudly! 😎
4. Water Bottle. It doesn’t matter if you choose to get one that could be attached to your bike, or one that you can carry in your backpack or rack. Just get one and fill it every time you get to stop. Drink and refill. Remember we have a hot, humid weather. Replenish each time you can.
5. Trousers with padding. At first, I thought we ladies, don't even need this, but with experience, riding Metro Manila roads can be taxing on the groins too! Without a padding, my groin area would feel numb, and would be achy the next morning! So, if you'll ride longer than 20 minutes everyday, get one! It will save you the pain and discomfort.
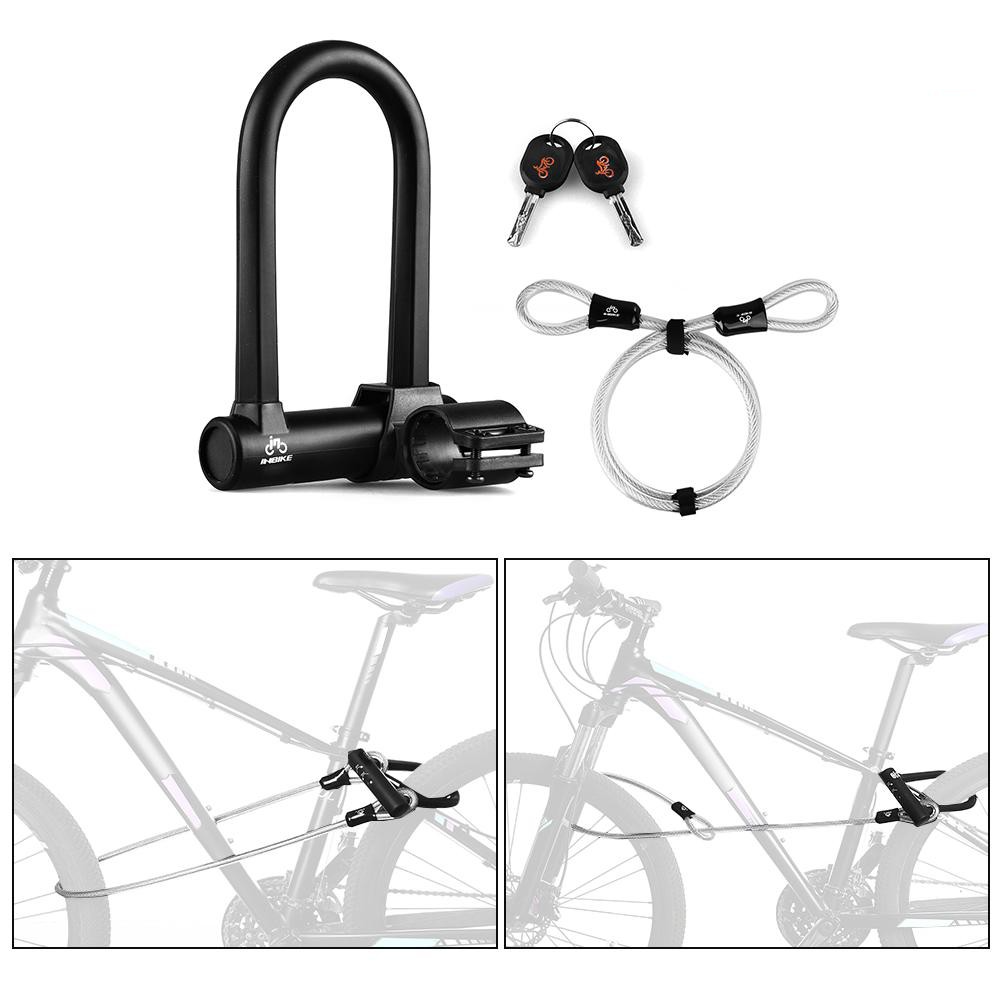
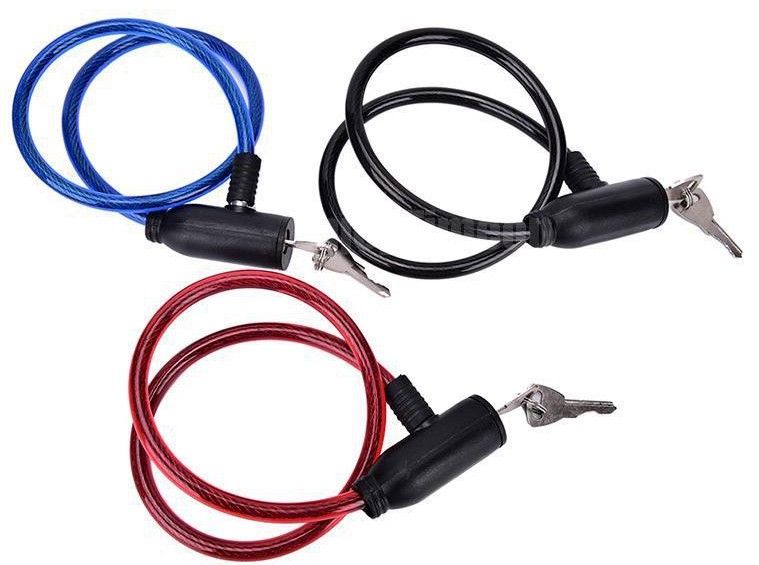
6. Bike locks. This is a rabbit hole. There are many kinds to choose from and with varying security levels. However, it’s a no brainer. Bikes are lightweight and can easily be stolen. To not buy a bike lock is the same as saying your bike isn’t important. My golden advice is to not buy only one type of lock. Don’t use the cable locks that are coiled chains worth less than Php 500. These will only require less than 5 seconds to clip the coil and steal your bike. Surely you don’t want that to happen to you. Invest in a thick bike chain or a U lock. Now, if you ever choose to go with a U lock, know that you are limited in the range of where you can lock your bike to. Especially folding bikes are challenging to lock with a U lock. U locks are best used by road bikes and mountain bikes because their bike frame design is fixed.
Optionals, and maybe why you’d want them too:
1. Another front steady light. If you would probably caught in the dark going to or from your destination, the blinking light will make yourself visible on the road, but a steady light will light your path ahead of you. If you’re cycling fast, it will be too late to see potholes or oddly positioned manholes, etc and it would spell accident for you. This front light will be positioned along the angle of your eyesight to light your way; while the blinking light is usually just facing down on the floor at about 10-15 degrees angle.
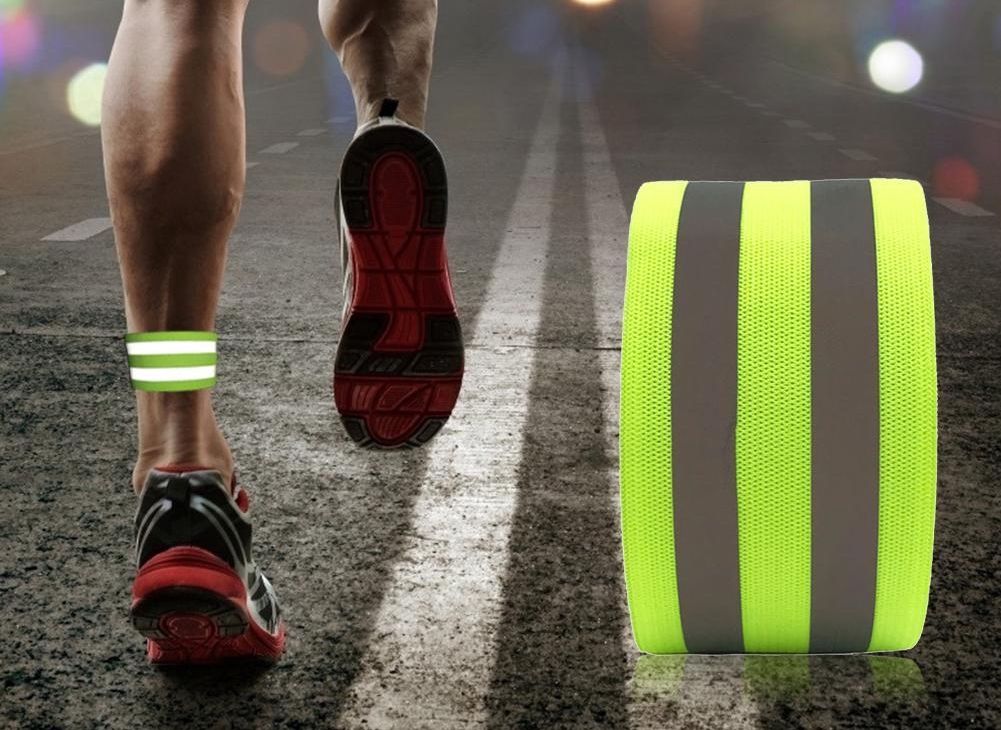
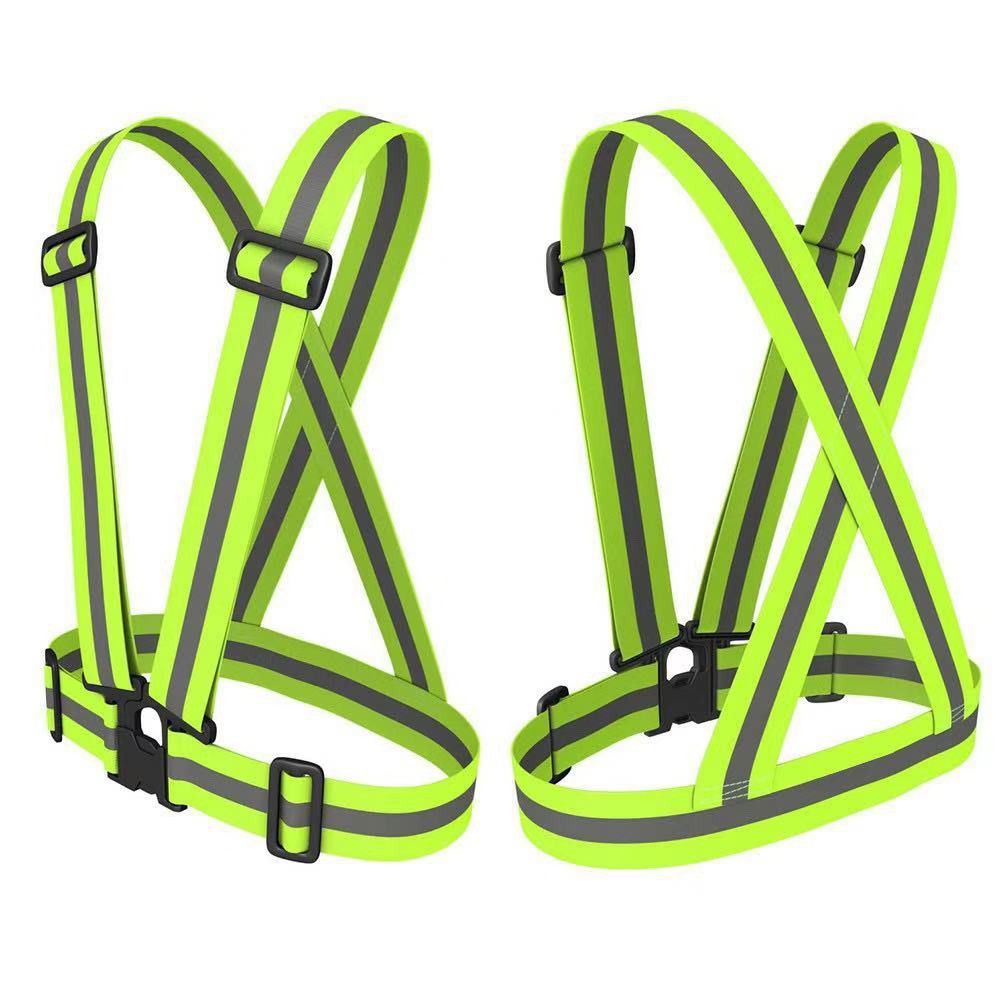
2. Reflector clothing or pieces of clothing or sticker. I’m paranoid. I bought some rubber leg bands that have reflector strips. I wrap it around my calf muscle. It’s very visible because when your legs move, so does the strip and it will automatically communicate to other road users that you’re a cyclist. You may also want to decorate your bike with reflector stickers or strips along the ream of the tire and/or its body. This is especially useful when crossing streets because road users will see you from the side, not just the back (which is already lit by your blinking light)
3. Cycling shoes. Now, this is really optional, but to me, it was a game changer. I used to cycle only with my shoes (no shoe laces). If you ever decide to just use your shoes, don’t bike with shoes that have laces! The thing that nobody told me, was that, when you press your foot on the pedal, press on it using the part of your foot from the ball to the arch. Also, the direction of the press would matter, especially if you’re riding uphill. (More on this in the next post). So, if you choose not to buy, use one that has stiff soles. You’ll feel the difference.
4. Phone holder / Action camera. Now, while this all feels like a hobbyist’s wants, I can tell you, it’s not. Metro Manila as it is right now (sans the plans for bike lanes, etc), is a jungle. Yes, it is. No exaggeration. You have jeepneys that are patok! Motorcycle riders that are kamote! and the four-wheeled vehicles that look down on you. Without a means to record your ride, you will be defenseless when accident happens. It’s really scary. I actually just bought one for myself because I look at this as a form of protection. If you decide to go with your phone, just make sure that this won’t drop your phone in the middle of a bumpy ride. Secure it in multiple ways.
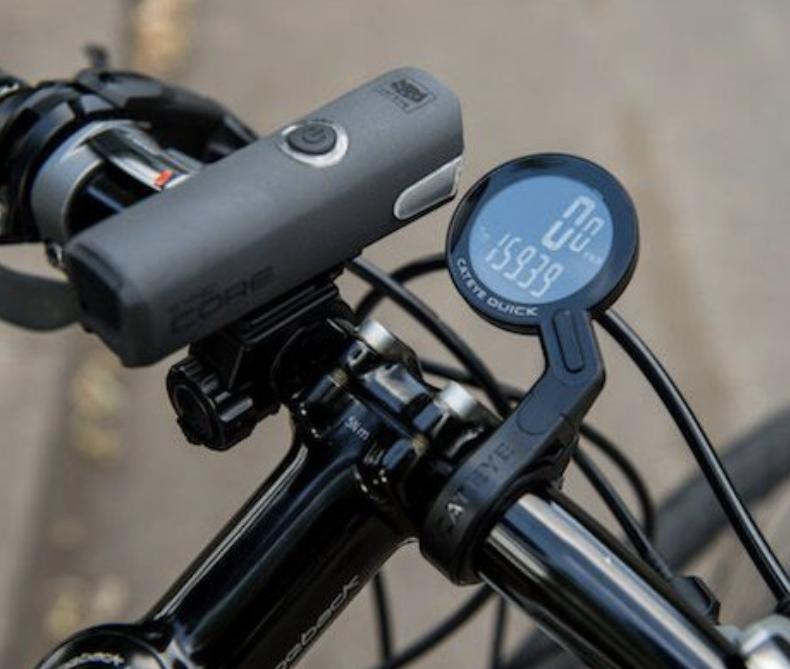
5. Bike computer. Well, it’s not really a computer in a sense, but it’s like a pedometer for bikes. It tracks your speed, your mileage and maybe even show you the time. I personally bought one, but sold it away because I find that I don’t need to know/see this every time and it’s more difficult to remove and install each time I go.
A special mention accessory: * drumroll please* I’m not putting it in either essential or optional, but I’d rather call it the necessary beginner accessory
I use bike mirrors! yay! This is super useful for me because it aids you when you’re trying to merge traffic, and by simply being aware of who’s behind you and how far along they are. My bike looks funny because it looks like it has ears, but I’d tell you, for me, this is more important than my water bottle 😛 I could leave my water bottle, but I wouldn’t leave without my mirrors. I have one for each side, but seriously, we could do away with just having one at the left side. For a beginner, this helps build confidence because I’m not yet fully able to do hand signals.
Step #4:
The right mindset I believe is more difficult to attain. You need to establish reasons why you’re embarking on this endeavor. Is this only temporary for you? Do you really need to go out? Are you doing this for the sake of the environment? Or maybe for your health?
For me, it’s a no brainer. I wanted to make cycling my default mode of transportation. Ride hailing services were becoming too expensive, and public transport is too congested. A big chunk of money used to go to transport means, and it's still not that efficient.
However, one of the challenges I face, is getting pushed to the side. Cyclists are not valued commuters in Manila. They think that when you cycle, you are poor, or that you don’t even pay your taxes. Each time I ride out, I have to tell myself that I have a right to the road. I pay my taxes, and I am a law abiding citizen. This is also my road.
Step #5:
Maintenance. *cue in the Bicycle repairman*
This might be easy for most men. However, it will take some getting used to for women. The first thing you’ll need to learn is how to pump air into your tires. Cyclists have strong legs, but weaker arms. It will be a challenge, and will feel awkward at first, but don’t worry, you’ll get a hang of it.
The next one is something I haven’t tried myself yet. Knowing how to patch your tires, will require you to first: know how to remove your tire and second, how to apply the patch! This is something I need to learn further.
Finally, cleaning your bike. You will need some space to wash the bike, especially if you ride through muddy roads, as the gunk can harden on the frame of your bike. The chains are very important too, so if there’s mud, clean them off right away. After a soapy wash, you’ll need to grease the chains again so that they don’t creak and become brittle as you use your bike.
Once in awhile, you’ll also need to index your gears. If you have gears on your bike (most do, except for the utility bike), you will have to have it indexed by a repairman at least once every quarter. This ensures that your shifting won’t loosen the chain off the bike or get stuck while you’re riding.
So, that's it for now. I'm glad you're taking time to start your City Cycling Journey! Stay tuned for the next post for tips on the road. Happy Cycling! 🚲